The following steps will guide you at setting up your Caorda hosted exchange account in the Outlook at on your Android device
This guide was created on Android 12 with the latest Outlook app version at the time (last updated Aug 30, 2023), newer or older devices or an updated Outlook app may not show the same windows. Feel free to reach out to Caorda Support for any help.
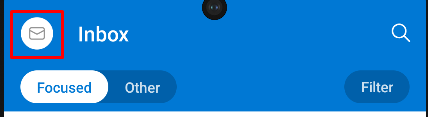
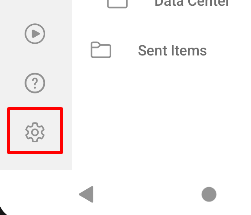
- From within the Outlook App access the Settings section. To do this click on the icon in the upper left side to bring up the menu and click on the cog to access the settings section
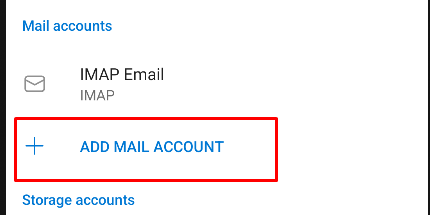
- From the settings section, under the Mail accounts section tap on ADD MAIL ACCOUNT
- Tap on Add an email account from the window that appears, tapping on the other one will have you setup a new Outlook account.
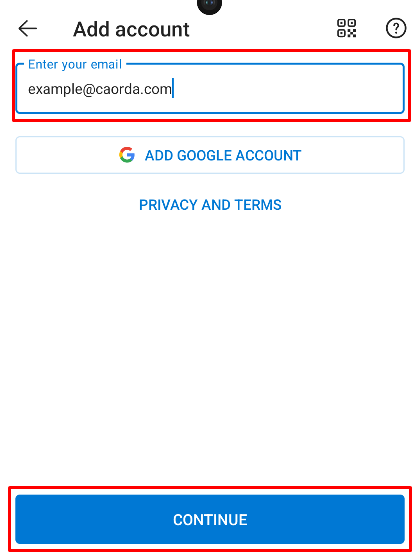
- The new account setup process will start, enter the email address of your hosted exchange account here and tap on Continue
- If your DNS has been properly setup Outlook will populate the important fields fill in the missing information and tap on the checkmark. All you need to populate is the Password and the Username.
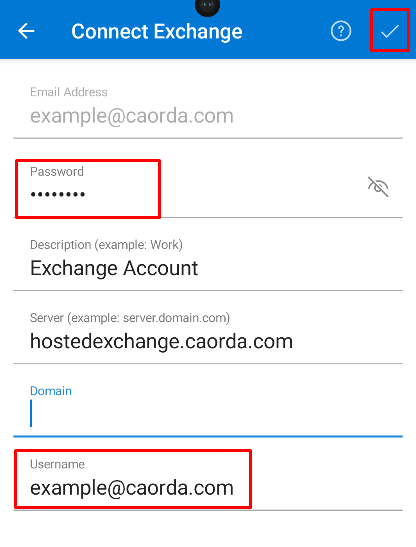
- Password: Enter your password here
- Confirm that Server is: hostedexchange.caorda.com
- Username: Enter your email address here.
- Domain is to remain blank
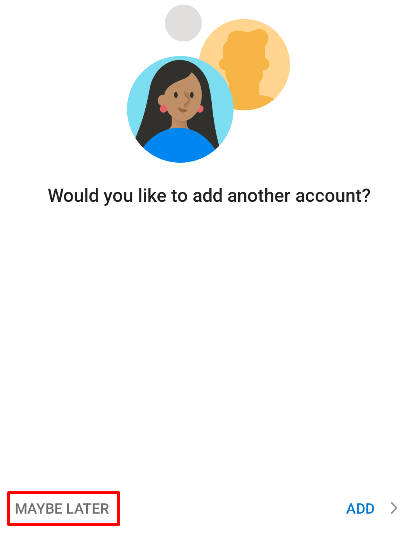
- If everything is good you will not get any errors and will get the generic request of Would you like to add another account?. Simply select Maybe Later and you are done. Your hosted exchange account has been setup in the Outlook App