This guide will help an Administrator on the FTP web interface to setup Multi-Factor Authentication for a single User. Multi-Factor Authentication only applies to users logging in through the web interface.
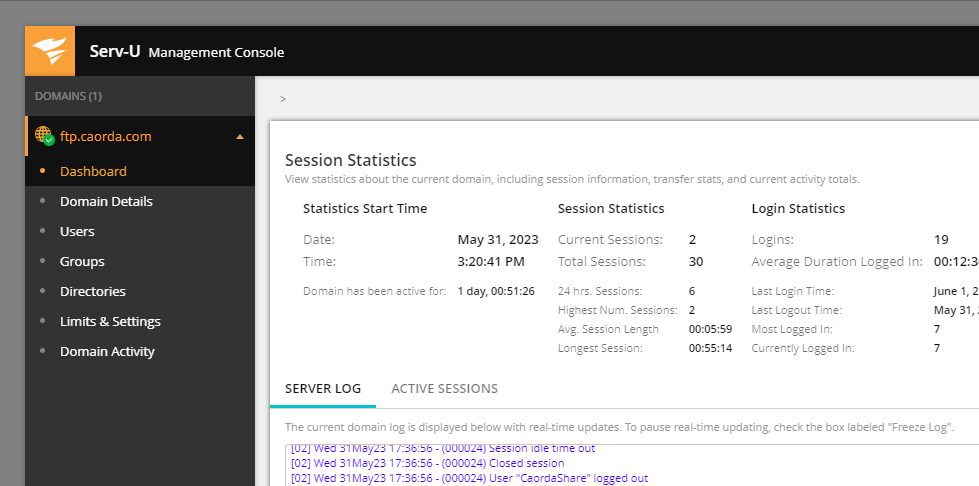
- Login using your Administrative account.
- Navigate to the list of your Users.
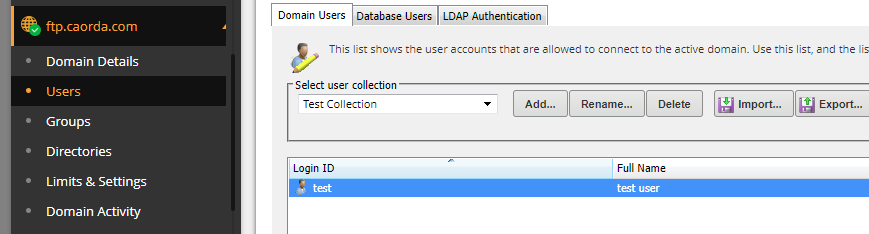
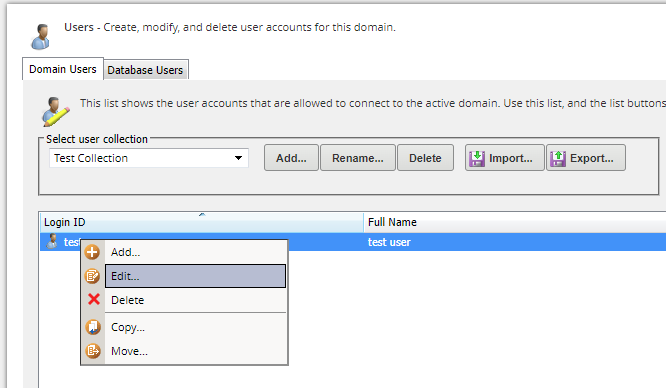
- Select the user you would like to Enable MFA on, and select Edit.
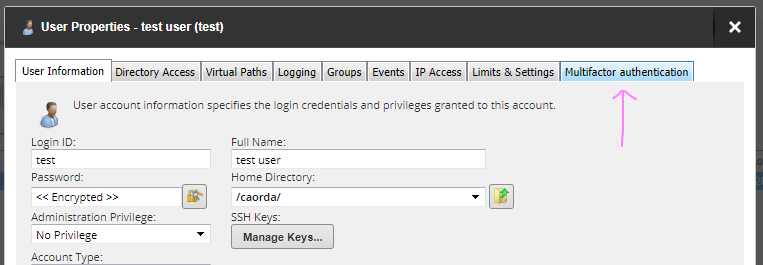
- Select the new Multifactor authentication tab.
- On the Multifactor authentication tab, there are three options
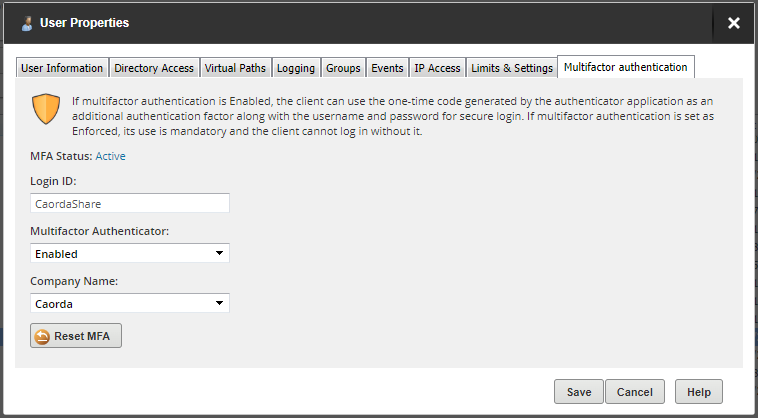
- Login ID: this is the user’s username and cannot be changed
- Multifactor Authenticator: The next time the user signs into the service they will have to configure MFA depending on the option selected.
- Enforced: required to setup Multifactor Authentication to continue to access the service.
- Enabled: MFA optional to user. Multifactor authentication option presented but can be skipped by the user.
- Disabled: The user is not presented with any option to setup multifactor authentication, and MFA is not required to login.
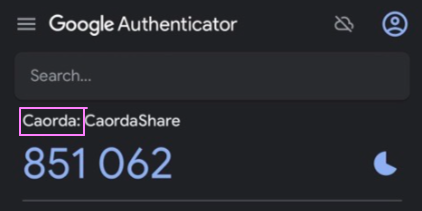
- Company Name: This is the name that appears before the username when this is added to an authenticator app. It is recommended to put your company name here.
- Once enabled, the next time the user logs into the service they are presented with a pop-up to setup their Multi-factor Authentication
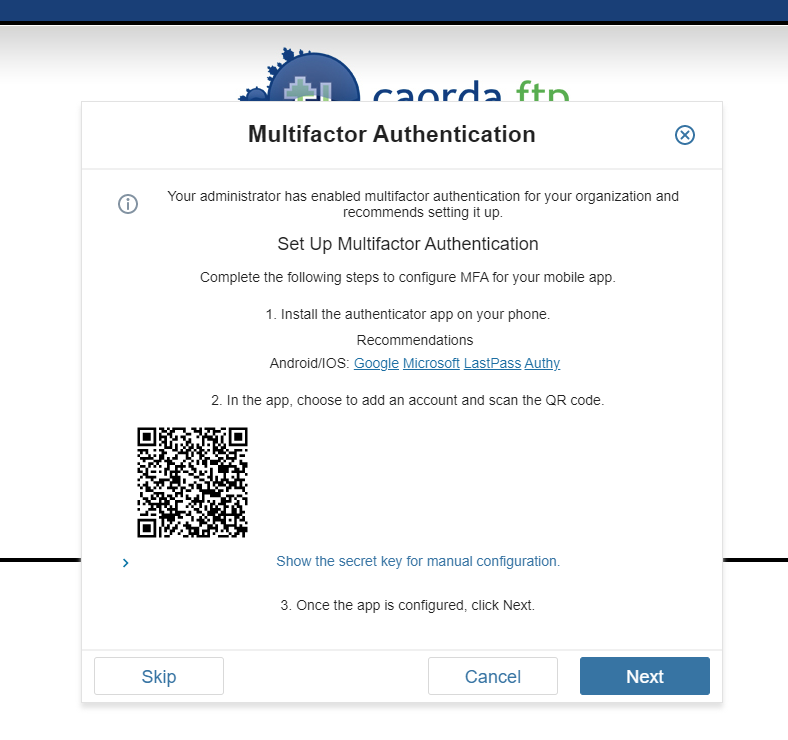
- After being presented with the pop-up, the user needs to either open their authenticator app or download one of the listed applications to their device.
- With their authenticator app of choice at the ready, scan the QR code using the app.
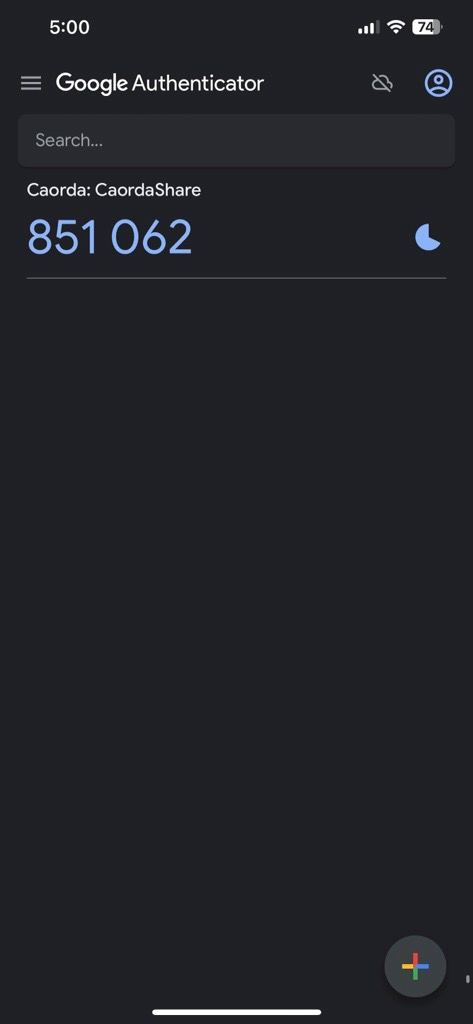
- Your new authenticator code will appear in your app of choice:
- With the code in your application setup, you can now login to the FTP web interface. You will be presented with a window to input your new code.
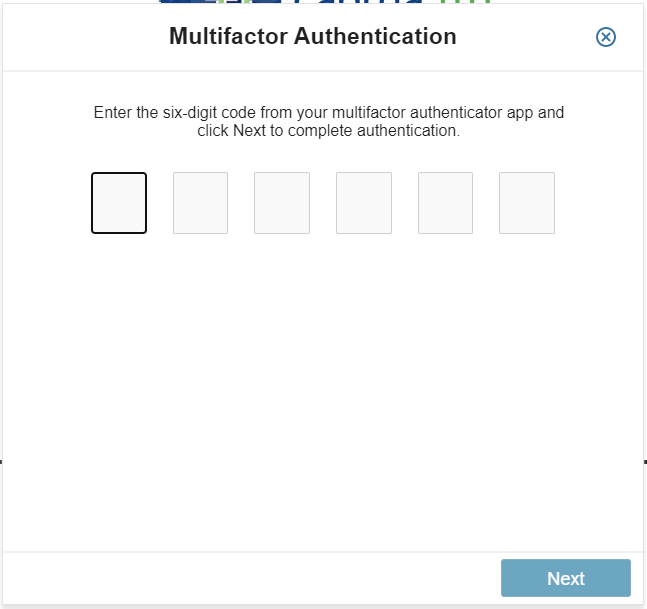
- Entering in the code you will proceed through the login as normal and land on your web interface.
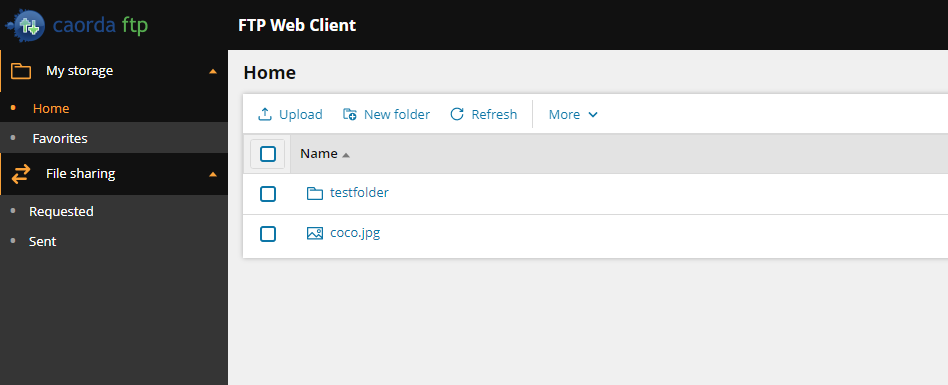
- Multi-factor Authentication is now setup for your User’s Web FTP access.